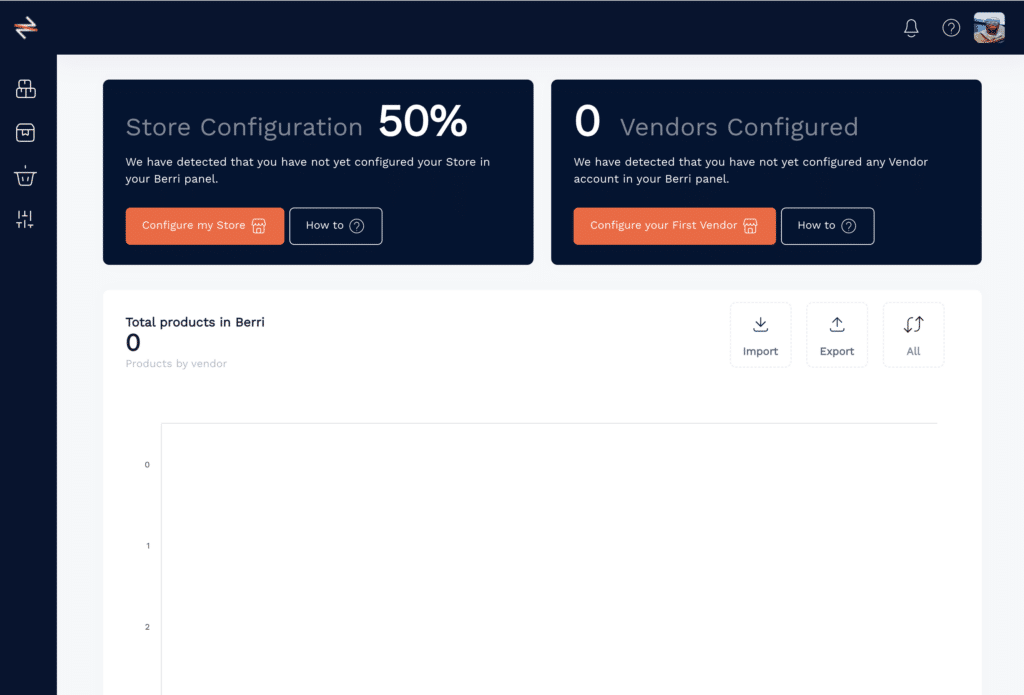
Upon logging in, you will be directed to the Dashboard.
Select Configure My Store from the top tab or from the left menu by navigating to Store Settings
or
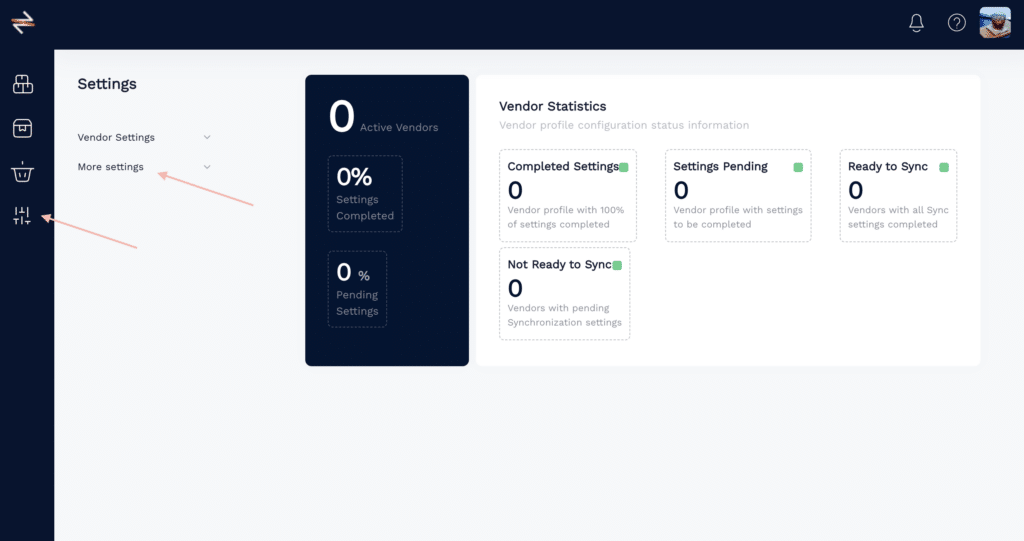
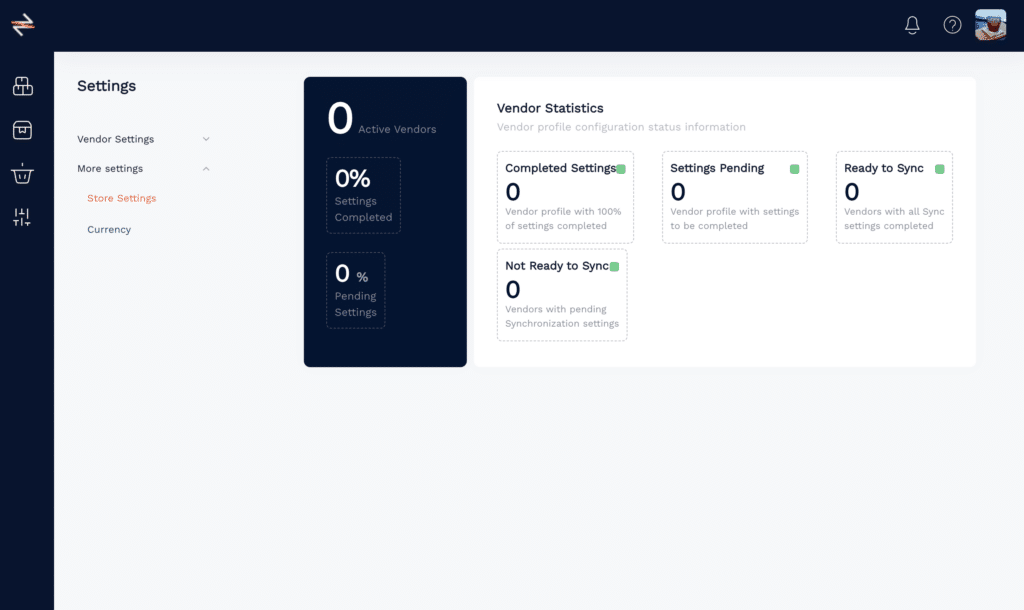
1. Navigate to the General Settings tab in the menu and input your information.

2. Select My Store Settings from the menu tabs and input the required information.
-
- Currency: This is the main currency you use in your own e-commerce store
-
- Your VAT: In this section, you can establish the primary Value Added Tax (VAT) rate for your store. If your store utilizes geolocation-based VAT, it’s important to set the VAT rate corresponding to the country where your company remits taxes.
-
- VAT Included: If you are entering prices on your e-commerce store exclusive of VAT, select ‘Off’. This is a common practice in Europe and is also applicable to geolocation-based VAT setups.
-
- Product Status: You have the option to upload your products as either ‘Draft’ or ‘Published’. Selecting ‘Draft’ will upload your products in a mode where they are saved but not yet visible to customers on your store. This is useful when you wish to review or make further changes before publishing. On the other hand, selecting ‘Published’ will make your products immediately available for viewing and purchase on your store.
-
- Default Warehouse: Select your main warehouse. This information is sourced from your Shopify Store, so the options available will depend on what you’ve previously configured in Shopify.
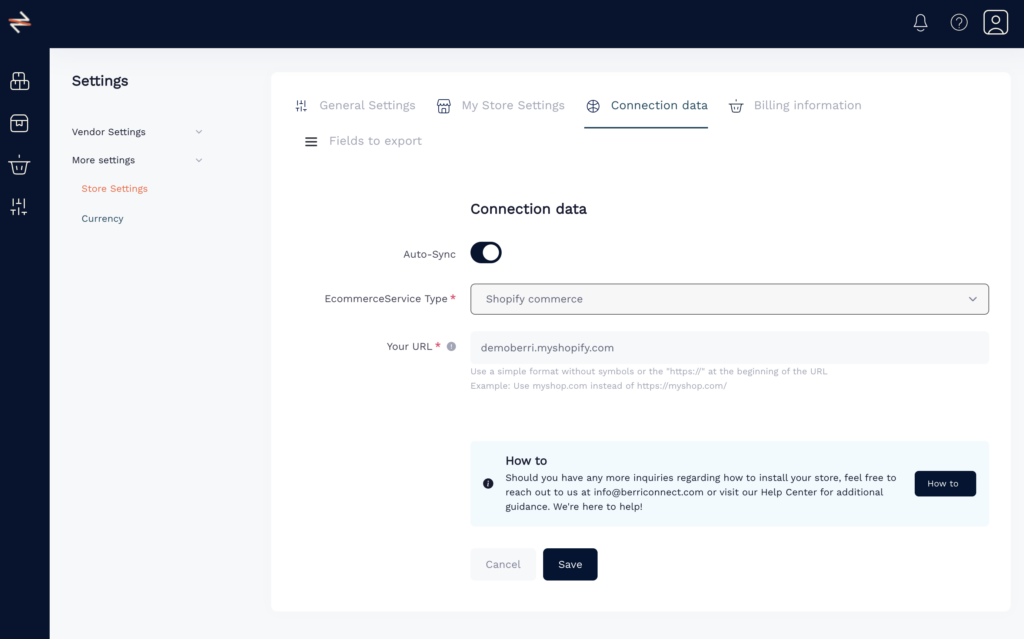
3. Connection Data
-
- Auto Sync: You can toggle the “Auto Sync” option on or off. Enabling this option will synchronize the product’s stock and prices between the vendor’s source store and your destination store. In the Fields to Sync Tab you can choose which options you would like to synchronize.
When Auto-Sync is enabled, it also activates order routing. Vendors automatically get the new order, and if the target store uses Shopify, fulfillment is also automatically handled.
- Auto Sync: You can toggle the “Auto Sync” option on or off. Enabling this option will synchronize the product’s stock and prices between the vendor’s source store and your destination store. In the Fields to Sync Tab you can choose which options you would like to synchronize.
-
- E-Commerce Type: You can select the E-Commerce platform for your destination store.
How to set up your store with Shopify, read this guide.
How to set up your store with WooCommerce, read this guide.
Berri Catalogue: Opt for the Virtual Store option if you are not utilizing an e-commerce platform such as Shopify or WooCommerce. The Virtual Store feature within Berri Connect serves as your digital storefront, allowing for product management and sales operations in the absence of an external e-commerce platform.Attention! If you change the E-Commerce Type after the complete setup of your vendor you may lose all your data!
- E-Commerce Type: You can select the E-Commerce platform for your destination store.
4. Billing Information
-
- The billing information you enter here will be automatically forwarded to the vendor during the order processing stage. The vendor will receive this information in the customer field.
Note that the billing information entered here is not for your Berri Connect subscription.
- The billing information you enter here will be automatically forwarded to the vendor during the order processing stage. The vendor will receive this information in the customer field.
5. Fields to sync
-
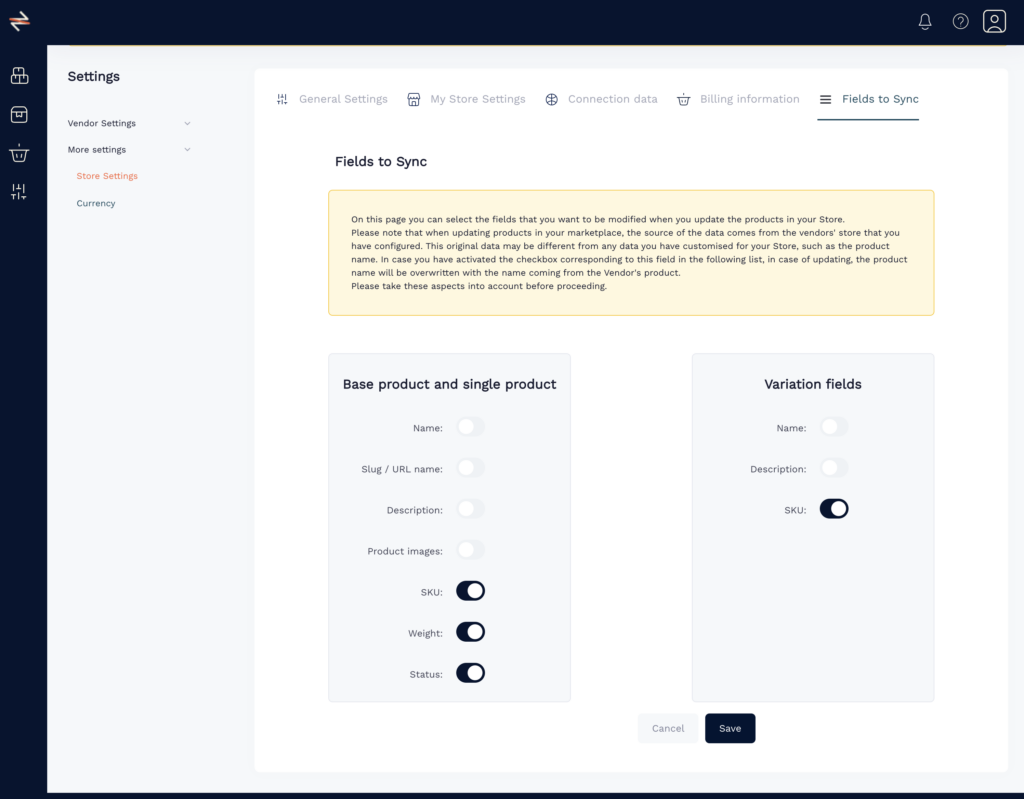
- In this section, you can select which fields you’d like to have automatically overwritten during the auto-sync process. The choice is entirely yours, but we recommend maintaining the settings as shown in the example image.
If you wish to retain the Title and Description provided by your vendors, you can leave the toggle on for these fields.
- In this section, you can select which fields you’d like to have automatically overwritten during the auto-sync process. The choice is entirely yours, but we recommend maintaining the settings as shown in the example image.
